Instruction Manual - Installing Your Clock
IMPORTANT: Instructions highlighted in red are critical for the successful installation and running of your clock.
Plasterboard Note: These instructions are written based on installation onto a masonry wall (solid brick). If installing onto a plasterboard wall the steps are identical except when drilling and inserting the wall plugs. Blue and bold notes are added where appropriate for plasterboard installations.
OK this is it, Step 1
The first step is to lightly mark a point on the wall with a pencil where you want the clock hands centre to be. I recommend roughly a height of 1.65 meters from the floor or eye level however this is a personal preference.

To check that you are happy with the position and that the clock does not hit the ceiling, temporarily lift the clock and align the clock hands centre with the pencil mark. Once satisfied that this is the correct position please proceed to the next step.
Step 2
Take the clear acrylic spirit level, and using the two location pins, assemble the spirit level to the setup template, around the main cutout in the template as shown below.


Step 3
Align the pencil mark on the wall with the bubble in the spirit level (don’t worry if it is not exactly aligned)

Step 4
IMPORTANT: Rotate the installation template against the wall accordingly so that the spirit level bubble is EXACTLY between the two black lines on the level vial.
Step 5
Holding the template firmly against the wall and keeping it level, mark the hole positions on the wall through the holes in the installation template (holes marked with an arrow). Most clocks have 3 mounts with 2 screws in each (6 in total), however some will have more but this will be clearly indicated on the installation template. Remove template and ensure pencil marks are visible.


Step 6
CAUTION: BEWARE OF WIRES OR PIPES BURIED IN THE WALL (If in doubt ask a qualified electrician)
IMPORTANT: Using a 3mm or 4mm masonry drill bit drill a small hole EXACTLY on the pencil marks, ensuring that the drill is square to the wall (not like in the image below). Accurate drilling is essential as this can affect the final level of the clock, the clock wall frame does have a little adjustment but it is not much so get those holes spot on!


Plasterboard Installation Note: If installing onto a plasterboard wall use a standard drill and not a masonry drill. Plasterboard is very soft so go carefully as it is very easy to oversize the hole with the 8mm drill in the next step.
Step 7 Use parts from Bag.
Using an 8mm masonry drill bit, open up the holes (make bigger) drilled in the previous section, taking care not to allow the drill to wander and remember to keep the drill square to the wall. Using the supplied red depth gauge, check that the holes are deep enough. DO NOT drill any deeper than necessary.

Plasterboard Installation Note: Use a standard 8mm drill.
REALLY IMPORTANT PLASTERBOARD NOTE: Take extra care not to oversize the hole, as this will make the wall plug fit too loose, in which case you will not be able to tighten the screw as the wall plug may start spinning in the wall.

Plasterboard Installation Note: If installing onto a plasterboard wall the use of the depth gauge will not be necessary.
Step 8
Using a larger drill add a small chamfer to the edge of the hole (this allows the wall plug to fit flush with the surface of the wall)

Step 9
Use a vacuum cleaner to remove dust and debris from the drilled holes.

Step 10 Use parts from Bag
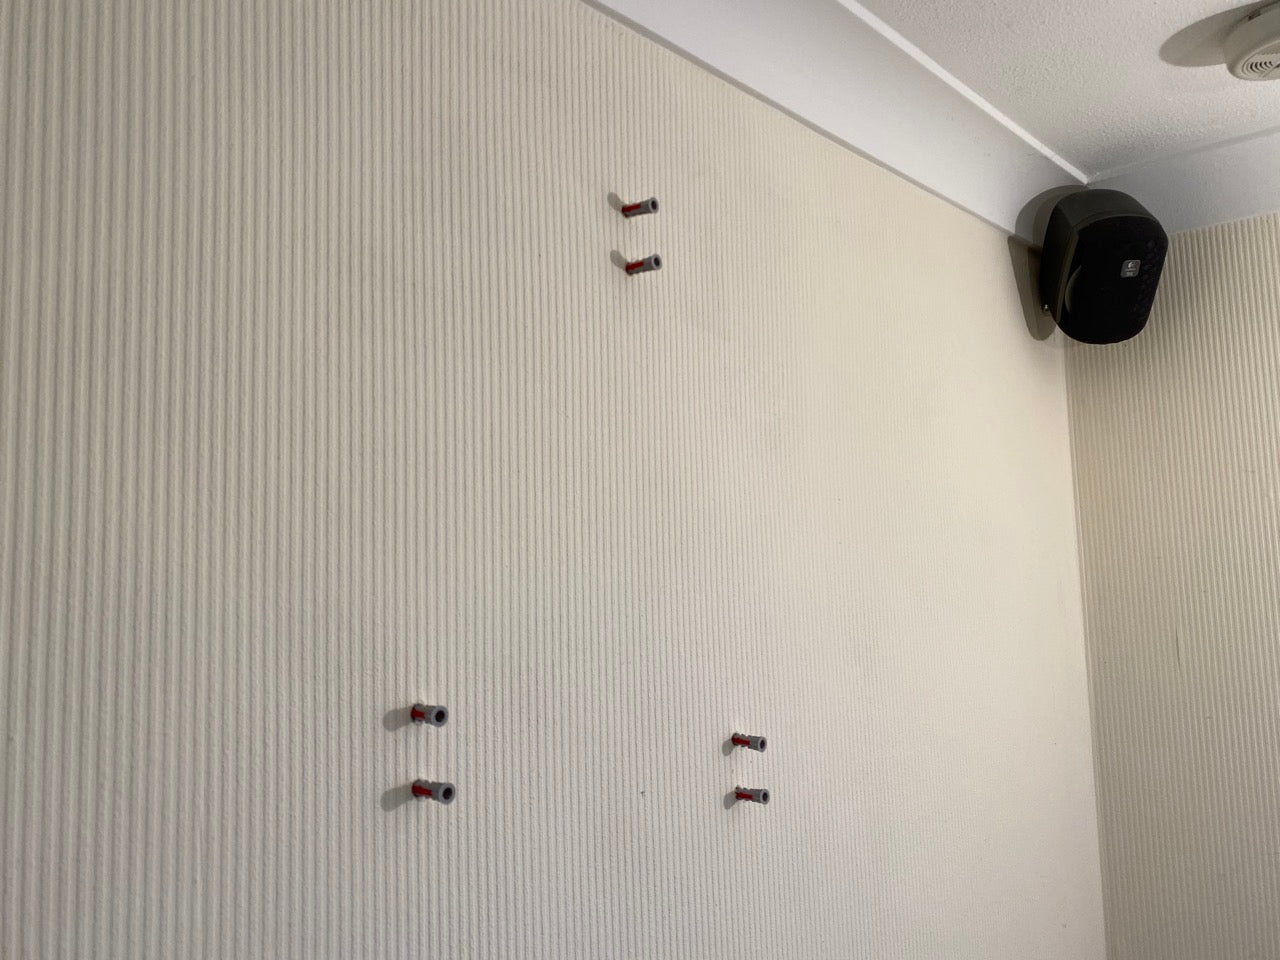
Insert the supplied wall plugs into the drilled holes.
Plasterboard Installation Note: The supplied wall plugs are designed for both masonry and plasterboard wall use, so there is no need to buy additional plugs.
Step 11
Gently tap the wall plugs into the wall until they are flush with the wall surface. Take care not to damage the wall.


Plasterboard Installation Note: Be extra careful when tapping the wall plugs into plasterboard as excessive force will cause the plaster within the plasterboard panel to break down and lose its ability to support the wall plug.
Step 12 Use parts from Bag
Insert the fixing screws into the special black countersunk washers, so that the head of the screw is flush with the top surface of the washer (most clocks have 6 fixings but others may have more)

Step 13
Take the wall frame and in the top screw hole, insert one of the screw and washer assemblies from the previous step. Insert the screw into the top wall plug and turn the screw a couple of times so that screw starts biting on the wall plug. The wall frame can now loosely hang from this single fixing. Repeat this step for all of the other fixings. Use your fingers and not a screwdriver for this step.

Step 14
IMPORTANT: Do not use a power tool to drive in any screws, as this will more than likely damage the clock.
Using a pozi drive screwdriver, screw in all the screws so that they just start to clamp the wall frame but leave them loose enough so that the frame can still move slightly on the oversized holes.

Plasterboard Installation Note: The Fisher wall plugs are designed to expand on the inside of the plasterboard in order to create the secure fixing (as shown below). As the fixing screw starts to clamp the screw washer it may feel like the screw is not tightening, this will be because the plug is expanding. Once the plug has expanded you will feel a difference in the torque being applied to the screwdriver and know that you are now tightening the screw.
IMPORTANT: Take your time when screwing the screw into the wall plug. Be mindful of the expansion phase of the plug but DO NOT allow the wall plug to start turning in the plasterboard.

Step 15 Use parts from Bag
There are two temporary spacers supplied with your clock. The wall frame has two main mounts and one (or two) smaller ones. The main mounts support the clock drive weight and winding handle. The shorter of the two main mounts is the drive weight support and the longer one is the winding handle support. Place the temporary spacer marked “RESET” on the winding mount (the longer one) making sure that the text on the spacer is facing forward towards you.

Step 16 Use parts from Bag
Place the temporary spacer marked “WEIGHT” on the weight mount (the shorter one) making sure that the text on the spacer is facing forward towards you.


Step 17
For this step you will need to keep the installation template parallel with the wall so that it slides onto the mounts without pitching and binding.
Place the installation template onto the wall frame mounts, ensuring that the installation template sits firmly against the spacers and also against the third mount (and forth if applicable)

Correct installation (below)

Incorrect installation (below)

Step 18 Use parts from Bag
Insert the two screws into the variable mount washer. The screws and washer are countersunk so the screw heads will sit flush with the front surface of the washer.

Step 19
Screw the variable mount washer in place using the 1.5mm allen key so that the installation template is held against the variable mount. Do not tighten the screws, just leave the washer slightly loose.

Step 20
Because the wall frame main screws are not fully tightened, you will still be able to move the wall frame slightly on the wall.
IMPORTANT: Adjust the position so that the bubble on the spirit level is EXACTLY between the two black lines on the level vial. Once level, continue to the next step.

Step 21
Now that the wall frame is level you will need to remove the set up template to gain access to the screws.
IMPORTANT: Remove the variable mount washer, now CAREFULLY remove the installation template making sure that the wall frame does not move on the wall. Now remove the weight and winding (reset) spacers.
Step 22
IMPORTANT: Without moving the wall frame, use the pozi screwdriver to tighten each of the main fixing screws. Tighten one screw a little, then move onto another, visit each screw several times tightening little at a time until the wall frame is securely held in place.
Plasterboard Installation Note: Be extra careful when tightening the screws on plasterboard, only tighten so that the wall frame is held securely but do not overtighten.
Step 23
IMPORTANT: Time to double check that the wall frame is level. Repeat steps 15 to 19. Check that the spirit level bubble still rests EXACTLY between the two black lines on the level vial. If it does, please proceed to the next step, however if it does not the main fixing screws will need to be loosened and you will need to repeat the process from step 15.
Getting your clock level is the most CRITICAL part of the installation. Even if this process needs repeating several times it is essential to get it right.
Now that you have the wall frame level from left to right, it’s time to level the clock mounting points from front to back. The wall should be fairly accurate but the next steps will get the clock mounts spot on...
The Current Setup:
The wall frame is now level and secured to the wall and the installation template is still in place from the previous step. The following steps will lead you through the front to back leveling process.
Step 24
Carefully remove the clear acrylic spirit level (parallel and without pitching it on the location pins) from the installation template. Rotate the spirit level and insert it into the installation template as shown in the next image.

Once in place rotate the spirit level clockwise until it stops and is in a vertical position. The spirit level should now look as in the last image on this page.


Step 25
Loosen but do not remove the two screws in the variable mount using the 1.5mm allen key so that the centre section is free to move backwards and forwards as shown in the next image.


Note: Some clocks may have two variable mounts, if so loosen the screws in the other mount as well.
Note 2: Some clocks may have a cover over the mount. The screws for these types of covered mounts are in exactly the same position but just through the access holes in the cover.
Step 26
IMPORTANT: Adjust the position of the variable mount so that the bubble on the spirit level is EXACTLY between the two black lines on the level vial as in the following image.


Step 27
With the template level, tighten the screws in the variable mount taking care not to move the template while doing so. Do not overtighten the screw as this could damage the mount.
Note: Some clocks may have two variable mounts, if so tighten the screws in the other mount as well.
IMPORTANT: With the variable mount/s tightened, double check that the installation template is still level. Check that the spirit level bubble still rests EXACTLY between the two black lines on the level vial. If it does, please proceed to the next step, however if it does not you will need to repeat the process from step 25.
Again, getting your clock level is the most CRITICAL part of the installation. Even if this process needs repeating several times it is essential to get it right.
If the installation template is level, please proceed to the next step.
Step 28
Remove the variable mount washer, installation template, weight and reset spacers.
For wooden clocks, cover the main fixing screws with the magnetic veneer screw caps.
Note: Some clock designs may have a cover over the mount. For these types of covered mounts there will be similar magnetic screw caps.


That’s the final step for the wall frame. Clean any drilling dust from around the frame and remove any visible pencil marks from the wall with a very slightly damp cloth (do not allow the cloth to touch any wooden surfaces).
Step 29
IMPORTANT: Take your time with the next step and never force the clock. If your wall is not perfectly flat the wall frame mounts may have flexed slightly from their nominal position, this can cause alignment issues when placing the main body of the clock. Clearance has been provided on the mounts to allow for small discrepancies in wall flatness. If the clock feels tight remove it and have another go, but never apply excessive force.

Place the main body of the clock onto the wall frame keeping the clock as parallel with the wall as possible (the winding mount is the longest of all the mounts, so this one will enter the clock first). Make sure the clock is sitting properly against the weight, winding and variable mount faces.

Step 30
For the final time assemble the variable mount washer, this time slightly tighten the screw (do not overtighten the screws as this will damage the tiny threads in the mount)

Step 31
For wooden clocks, cover the variable mount washer with the magnetic veneer cap (see the image below)

Note: For other clock designs there will be a similar magnetic cap.
Step 32
The next step is to assemble the cord hangers. The winding mount (the long one) protrudes through the clock and is easier to access, so I recommend starting with this one as it will give you a better understanding of what you are trying to achieve when it comes to the slightly trickier weight mount.

There are two cord hangers for the weight and winding mounts. If both cord hangers are identical it does not matter which one is assembled to which mount, however if the hangers are different in length the one with the engraved clock name fits onto the weight mount and the plain one fits onto the winding mount.
Working on the winding mount first, take the plain cord hanger and black screw. Insert the screw into the hole on the winding mount. As it passes through, insert the screw through the hole on the cord hanger. Continue to insert the screw until it stops then start screwing the screw in. The screw will not tighten, instead turn the screw until the head is flush as with the mount surface.
IMPORTANT: The screw head is designed to sit in and be supported by the first hole in the mount. Do not screw the screw through the mount and clamp the cord hanger.

Step 33
Now to the weight mount side, as previously mentioned access here is more restricted, however the principle is exactly the same as the winding mount. Take your time and if you're struggling to find the hole on the cord hanger, take a break and try again, you’ll get there.


Step 34
The next step is to assemble the cords over the weight and winding pulleys. Again the winding mount (the long one) protrudes through the clock and is easier to access, so I recommend starting with this one as it will give you a better understanding of what you are trying to achieve when it comes to the slightly trickier weight mount.
Step 34 continued…
Untie the winding cord (labelled winding cord) and find the knotted end.

Thread this end over the top of the winding pulley.
IMPORTANT: Make sure that the cord goes OVER the pulley (see next image) and not just over the top of the mount. The clock will not work if the cord is not running over the pulley correctly.

Pull all the loose cord over the pulley so that it hangs down the side, do not actually pull on the cord so that the winding ratchet starts clicking (this would effectively be winding the clock without the weight)
Step 35
Now to the weight mount side, as previously mentioned access here is more restricted, however the principle is exactly the same as the winding mount. Take your time and if you're struggling to get the cord over the pulley, take a break and try again, you’ll get there.

Untie the weight cord (labelled weight cord) and find the knotted end.
Thread this end over the top of the weight pulley.

IMPORTANT: Make sure that cord goes OVER the pulley (see next image) and not just over the top of the mount. The clock will not work if the cord is not running over the pulley correctly.

Pull all the loose cord over the pulley so that it hangs down the side.
Step 36
Starting with the winding side (the side with the longer mount).
Take the winding handle and hold it in front of the wall so that the front of the handle faces towards you, as you will see it when installed. Take the winding cord knotted end and thread it from right to left under the pulley in the winding handle.

IMPORTANT: Make sure that cord goes UNDER the pulley (see image to the side) and not just under the frame of the winding handle. The clock will not work if the cord is not running under the pulley correctly.


Pull the loose cord through the winding handle, ready for the next step.
Step 37
Continuing with the winding side, take the knotted end of the cord and insert it into the keyhole shaped slot on the cord hanger. Once the knot is through, slide it and the cord downwards so that the knot and cord are at the bottom of the keyhole slot.

Push the cord hanger back against the surface of the clock.(as shown in the next image)

IMPORTANT: The cord must be securely attached to the cord hanger as shown in order to avoid injury, particularly on the weight side.
Step 38
Now we need to repeat the same principle for the weight.
IMPORTANT: The weight is reasonably heavy therefore I recommend asking someone to assist you with the following step.
Take the weight and hold it in front of the wall so that the front of the weight faces towards you, as you will see it when installed. Take the weight cord knotted end and thread it from left to right under the pulley in the weight.

IMPORTANT: Make sure that cord goes UNDER the pulley (as with the winding handle) and not just under the frame of the weight. The clock will not work if the cord is not running under the pulley correctly.
Pull the loose cord through the weight, ready for the next step.
Step 39
Repeat the same principle on the weight side, take the knotted end of the cord and insert it into the keyhole shaped slot on the cord hanger. Once the knot is through, slide it and the cord downwards so that the knot and cord are at the bottom of the keyhole slot. Push the cord hanger back as far as it can go.

Gently release the weight allowing it to hang from the mount.
Note: Once the weight is released and hanging from the mount the clock may start running (slightly fast), this is perfectly normal and will not damage the clock.
Step 39 continued…

IMPORTANT: The cord must be securely attached to the cord hanger as shown in the image above in order to avoid injury.
Step 40
Installing the pendulum. The pendulum has been designed to be held in place with magnets to make installation as easy as possible.
Take the pendulum with the front face facing forward.
Guide the pendulum magnetic block up the back of the clock heading towards the mating face shown in the next image.

Step 40 continued...
As the magnetic faces come towards each other you will feel the pull of the magnets.
Slowly move the mating faces closer together until they touch and hold securely in place.

IMPORTANT: Once the connection is made the blocks containing the magnets should be perfectly stacked on each other (as in the image to the side). If they are half a block out, left to right or back to front, gently pull down on the pendulum to release it and try again.

Congratulations you have finished the installation!
The next section will guide you through the operation of your new piece of mechanical art, winding, adjusting etc...